
Scroll down for post in English
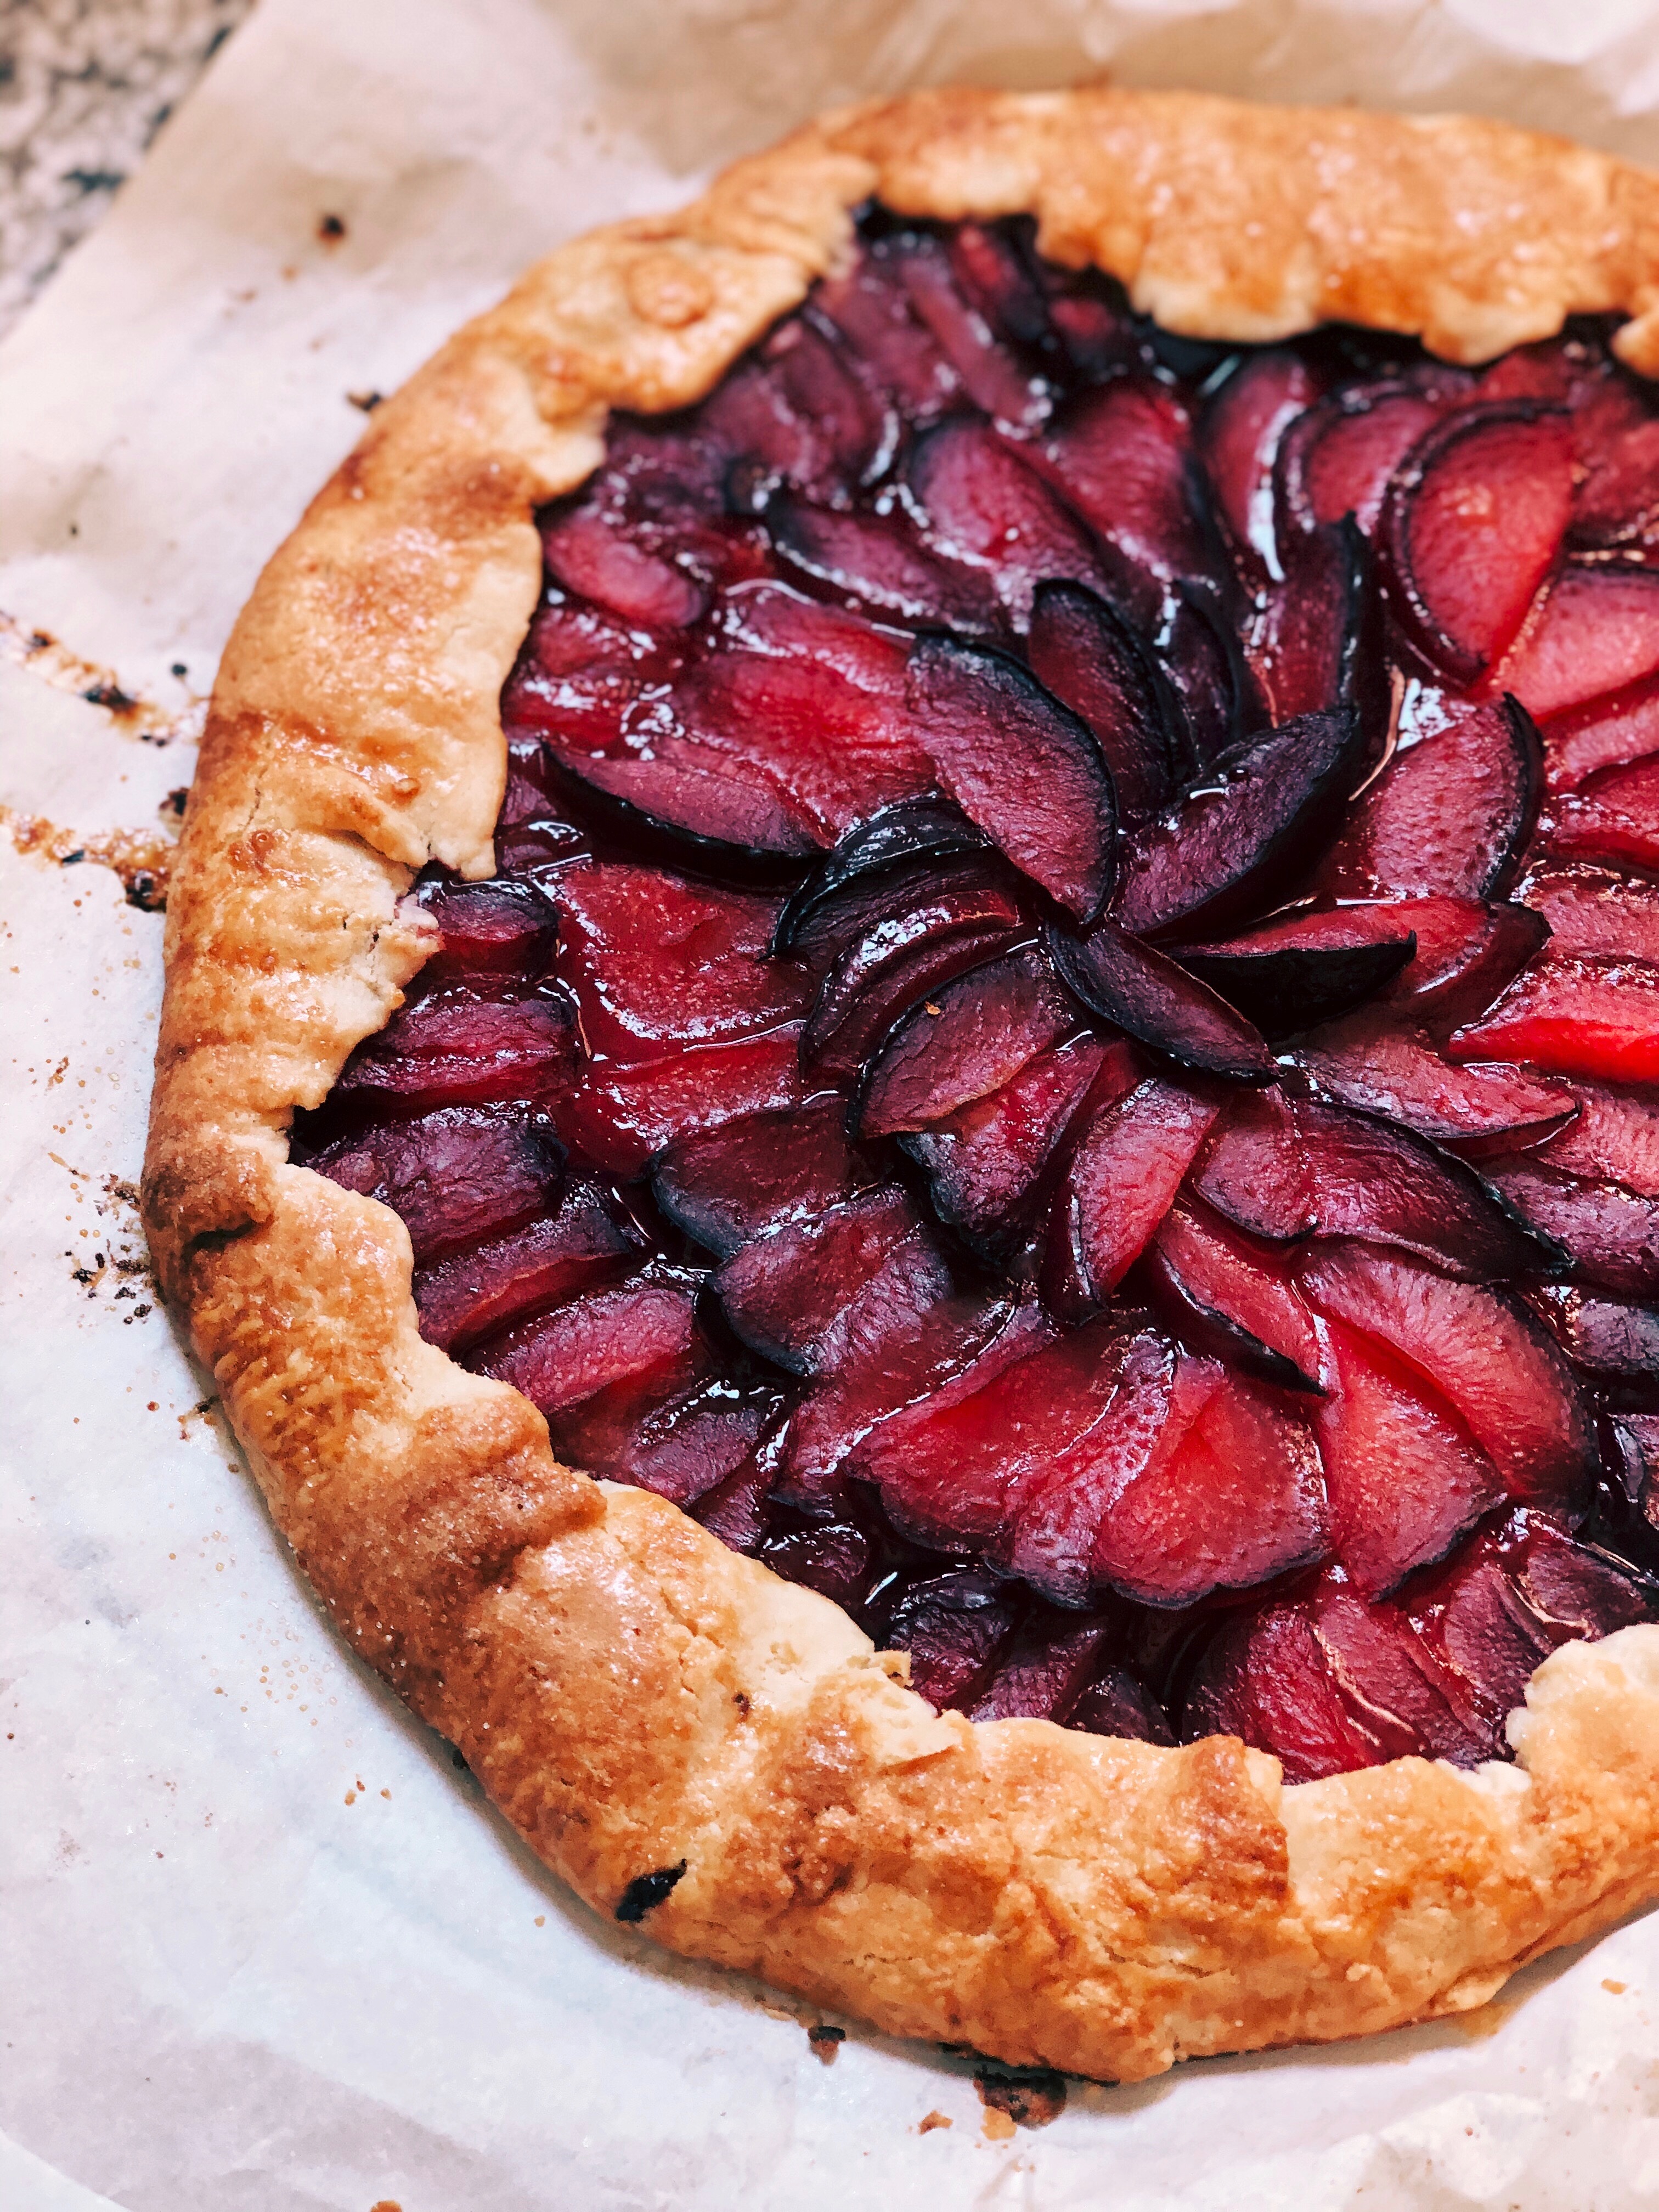
He decidido que iba siendo hora de que una galette tuviera un hueco en este blog sobre todo por que las hago mucho. Esta galette de ciruelas además es perfecta para esta época, ya bien entrado el verano. Las ciruelas ahora es cuando son más dulces y están en su máximo esplendor. Y aunque esta galette admite casi cualquier tipo de fruta de verano, a nosotros nos encanta con ciruelas. Yo la he hecho con ciruelas rojas pero cualquier variedad de ciruelas queda igual de bien.
Galette, Tart, Crostata… la puedes llamar como quieras
Tanto si te gusta más llamarla Tarta rústica de ciruelas, como si prefieres llamarla galette (la versión en francés) o crostata (su prima italiana), te va a encantar igualmente. Todas ellas, con su masa crujiente y hojaldrada doblada alrededor del borde recubriendo un exquisito relleno de fruta, son en esencia un pie de forma irregular horneado sin necesidad de usar una fuente, sino directamente sobre la bandeja del horno. Esto básicamente la convierte en un pie fácil. Así que ahora sabéis el motivo de que en inglés se conozca a la galette como el Lazy Lady’s Pie (el Pie para Perezosos).
Una diferencia con los pies clásicos es que en un pie, la proporción entre fruta y masa se inclina favorablemente del lado de la fruta. Al estar hechos en una fuente honda, hay mucho relleno. En el caso de las galettes se invierte esta proporción, la fruta es una delicada lámina por encima de la masa que básicamente lo que hace es volver la masa aún mejor. Esta proporción de mucha-masa-poca-fruta a mí me encanta, especialmente si la masa es casera y de buena calidad.
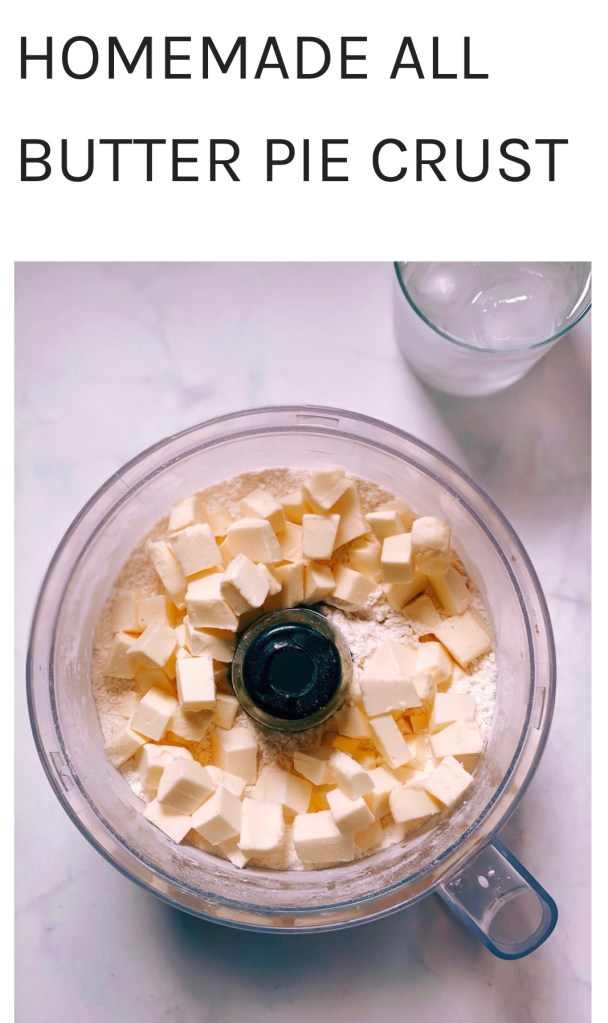
Si hacer tu propia masa es algo que te impone un poco te tengo que decir que hay otras muchas cosas en este mundo por las que preocuparnos así que quita ya esta de tu lista. Mi receta de Masa Casera de Pie o Quebrada no sólo es facilísima de preparar sino que además es muy indulgente y la vas a poder usar en muchas recetas. De verdad, en 5 minutos se puede hacer masa quebrada con un procesador de alimentos y es la mejor base para cualquier pie o galette.
Pero bueno, no me hagáis elegir entre pies y galettes porque no podría, ambos me encantan con sus peculiarides. Aunque es cierto que un pie puede ser algo más laborioso de preparar, sobre todo para el día a día. Hay que hacerle el borde bonito, hay que pinchar la masa con el tenedor, hornear en blanco la base, si quieres decorar la masa superior queda preciosa pero es un trabajín… Con una galette te ahorras todo eso. Literalmente lo echas todo encima de la masa y te olvidas. Cuanto más desaliñado sea el aspecto, más rústico y mejor. Claro que hay limitaciones a las ventajas de una galette. Al ser plana, no hay opción de rellenos cremosos. Pero para un postre rápido y rico para disfrutar de las frutas del verano, una galette hace maravillas.
Además las galettes y los pies de frutas son una opción estupenda para aprovechar frutas que tengan imperfecciones o que estén demasiado maduras. Frutos del bosque que se han quedado un poco olvidados en la nevera y están un poco pasados? Perfectos para una galette. Melocotones que aún no están muy maduros pero tienen una apariencia un poco golpeada en el exterior? Idóneos para un pie. Como os decía yo he optado por ciruelas y al imaginarme el bonito contraste de color fui directa a por las rojas. Pero si vais a comprar ciruelas y justo ese día no las encontráis con muy buena cara, cualquier fruta de hueso (o incluso cualquier combinación de varias frutas de hueso) va a quedar bien – albaricoques, nectarinas, melocotones… No tengáis miedo de experimentar y hacer combinaciones. Es realmente difícil que una galette de frutas salga mal.
Claves del éxito de una galette
Lo único a lo que realmente hay que prestar un poco de atención a la hora de hacer una galette es a intentar que la base no se empape mucho. Las frutas de verano son muy jugosas y llenas de agua y es precisamente por lo que nos gustan tanto, pero durante el horneado liberan aún muchos más jugos que tenemos que ser capaces de absorber de alguna manera para que no acaben en la base y arruinen el hojaldrado estupendo que habíamos logrado al hacer la masa. ¿Cómo lo conseguimos?
En primer lugar vamos a crear una especie de barrera entre nuestra fruta y nuestra base. Lo haremos combinando un poco de maizena, harina y azúcar y esparciendo la mezcla sobre la base antes de colocar la fruta. Y lo segundo es algo tan sencillo como precalentar la bandeja en la que hornearemos la galette. La metemos dentro del horno mientras se precalienta y con cuidadito transferimos la galette directamente sobre una bandeja caliente en el momento de hornear. De este modo, la base recibirá ese golpe extra de calor y llevará esa ventaja de cocción lo que la hará estar más crujiente y durita y mejor preparada para esos jugos de la fruta.
La preparamos?
GALETTE DE CIRUELAS ROJAS
Ingredientes
- Un disco de Masa Casera de Pie o Quebrada
- 7-8 ciruelas rojas deshuesadas y cortadas en medias lunas (la cantidad de ciruelas dependerá del tamaño)
- 2 cucharadas soperas de azúcar
- 1 cucharada sopera de maizena
- 1 cucharadita pequeña de harina normal
- 1 huevo batido para pintar
Preparación
- Estiramos la masa entre dos hojas de papel de horno. Es la forma más fácil de que no se pegue a la encimera y hace muy fácil el transferirlo a una bandeja de horno después.
- Si no queda muy redonda no importa. Siempre se le puede dar forma redonda recortando el sobrante con un cuchillo y reubicando los recortes donde haga falta para que la forma sea lo más redonda posible. Pero recordemos que no buscamos un círculo perfecto sino un aspecto rústico.
- Manteniendo el papel de horno de la parte de abajo transferimos el disco de masa estirado a una bandeja de horno o a un plato grande (esta bandeja no será la que usemos para hornear). En este punto, si la masa ha cogido calor (si es verano y en tu cocina hace un poco de calor seguramente lo habrá hecho) metemos unos minutos la bandeja con la masa estirada en la nevera.
- Mezclamos en un cuenco el azúcar, la maizena y la harina y esparcimos esta mezcla bien sobre el círculo de masa dejando unos 4 cm sin espolvorear cerca de los bordes.
- Colocamos las ciruelas dejando libres los 4 cm de borde. Podemos hacer una forma poniéndolas en espiral o volcarlas directamente esparciéndolas un poco para un aspecto más ‘descuidado/rústico).
- Con cuidado doblamos los bordes por encima de las ciruelas como para hacer un reborde de masa que sujete la fruta.
- Ahora precalentamos el horno a 200º con una bandeja de horno dentro (esta sí será la bandeja en la que hornearemos la galette) y metemos la tarta en la nevera durante el tiempo que tarda el horno en precalentar. Este paso no es imprescindible, puedes haber precalentado el horno antes y tenerlo listo pero siempre se obtiene una masa más crujiente cuando está bien fría al introducirla en el horno. Yo hago este paso siempre en verano.
- Una vez precalentado el horno pintamos los bordes de la tarta con huevo batido y espolvoreamos ligeramente con azúcar. Con cuidado y agarrando por el papel de horno, transfiere la galette a la bandeja de horno que está caliente.
- Horneamos en la mitad inferior del horno (no en la posición central sino una o dos más abajo) durante unos 30-35 min o hasta que veáis que la masa está hecha y dorada y la fruta se ve burbujeante. Si vemos que la masa empieza a dorarse demasiado y la fruta aún no está hecha, cubrimos con un papel de aluminio para seguir horneando hasta que esté lista.
- Dejamos templar. La podemos comer tibia o si es para llevar de picnic la dejamos enfriar antes de cubrir o meter en una tartera redonda.
Si te ha gustado esta receta me puedes dejar un like
RED PLUM GALETTE

I realized that it was about time a galette made its way to my blog since I make them a lot. This plum galette is perfect for this time of the year. Late summer is when plums are the juiciest and although you can make this galette with any summer fruit, plums are my favorite. I used red plums in this particular galette but all plums work. Pick your favorite variety and give it a try. You will not regret it.
Galette, Tart, Crostata… does it really matter what you call it?
Whether you call it a rustic plum tart (American), a plum galette (French), or a crostata (Italian), you’re going to love this easy dessert. With a flaky crackly pastry crust folded over a filling of luscious purple plums, it’s essentially a free-form pie baked on a sheet pan. This means, a pie but so much easier and so much faster to make. Now you know the reason behind galettes being also known as The Lazy Lady’s Pie. Oh, and the best part: it has a deliciously high crust-to-fruit ratio.
If you’re intimidated by making your own crust, don’t be! My Homemade All Butter Pie Crust is not only easy to make, but is also very forgiving and comes together in less than five minute in a food processor. It makes a fabulous base for any fruit galette or pie.
Now, don’t make me chose between galettes and pies. I absolutely love both. But pies can be a bit fussy for everyday baking. There’s the crust crimping, and the fork prickling, and the lattice weaving, and the parbaking. With a galette you get to skip all that. It’s literally thrown together, the messier the more rustic. And in galette‘s world, the more rustic, the better. I love that with a galette you feel like you get more crust (because that’s my favorite part), and how the crust gets super crispy throughout. Naturally there are some limitations on filling. No custardy goodness here. But for simple summer fruits, the lazy lady’s version works wonders every time.
Galettes and fruit pie are a terrific option to use imperfect fruit. Berries a bit past their prime? Toss them in a pie. Peaches that are underripe on the inside, but bruising on the outside? Toss them in a pie. I went with red plums because I found some gorgeous looking ones at the market last week and I was feeling dramatic and instantly pictured the amazing color contrast they would make with the crust. But if the the plums are looking a bit sad in your local market, just about any stone fruit (or combination of stone fruits) will work here – apricots, nectarines, peaches… Don’t be afraid of experimenting and mixing things up. It’s very hard to mess up a fruit galette.
Keys to a successful galette
The only tricky part when cooking a galette is trying to keep the crust from getting soggy. Summer fruits are very juicy, that’s what makes them wonderful, but during the baking time they release so much juice that it needs to be absorbed somehow to prevent it from ending up ruining the flakiness and crispiness of our crust. How do we do this?
First we are going to create a “buffer” for our crust. We’ll combine cornstarch, sugar and some flour that will absorb the juices as they are released from he fruit. And second, we will preheat the baking sheet on which we will bake our galette. This way the base of our tart will get extra heat from an already hot pan and will cook faster than the rest of the tart so it will hold its shape and keep its crispiness better.
Let’s make this Red Plum Galette
RED PLUM GALETTE
Ingredients
- One disk of Homemade All Butter Pie Crust
- 7-8 red plums, pitted then sliced in half moons (number of plums will depend on size)
- 2 Tbsps white granulated sugar
- 1 Tbsp cornstarch (you can substitute tapioca starch or arrowroot)
- 1 tsp all purpse flour
- 1 egg
Method
- Roll out the pie crust disk in between two pieces of parchment paper.
- Don’t worry too much about the shape, it doesn’t really matter if it’s not perfectly round (the more rustic, the better, remember?). But if you absolutely want to make it as round as possible, you can reshape it by cutting out pieces of crust from some parts and placing them in other parts until you get a shape that you are happy with. Just press your rolling pin over the seams to blend the parts together.
- Remove the top sheet of parchment and use the bottom part to lift the crust and place it on a large plate or baking sheet. At this point, if your kitchen is warm and the crust is starting to soften and stick to the parchment you can pop it in the fridge for 5 min.
- In a small bowl mix the sugar, cornstarch and flour and spread this mixture all over the crust leaving a 2” border around the edges.
- Arrange plum slices to your preference. You can make concentric circles, or you can just dump them carelessly in the center and spread them out for an even more rustic look. Make sure to always leave the 2” border around the edges.
- Gently fold the dough edges over the filling so the crust holds the fruit.
- Preheat your oven to 400F/200C with an empty baking sheet inside (the one that you will use to bake the galette on). Pop the tart in the fridge while the oven preheats (this is not essential but I find that you get the best results when the tart is cold when it hits the oven).
- Once the oven is preheated brush the edges of the galette with egg wash and sprinkle them with granulated sugar. Carefully lift the tart by the parchment and transfer it on to the preheated baking sheet or just let it carefully slide from the plate onto the preheated baking sheet.
- Bake in the rack right under the middle one for 30-35 min. Time will vary depending on variety of plums and ripeness. It will be done when the crust is golden brown and the fruit is bubbly. If the crust is browning but the filling isn’t ready yet cover the galette with foil and keep baking in 5 min increments until it’s ready.
- Remove from the oven and let cool.
